CORE Temperature Probe
Quick Start & User Guide
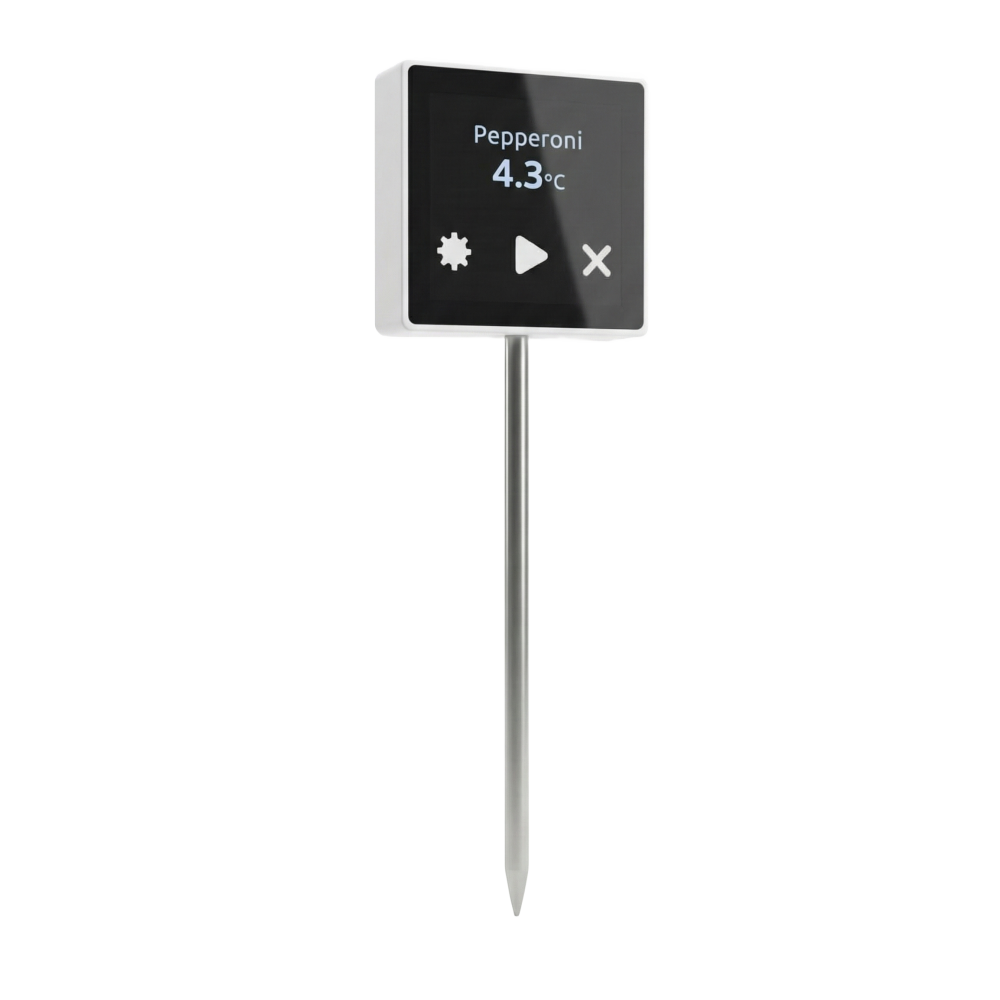
Device Overview
The CORE Temperature Probe features three main buttons and an OLED display. By default, the display is off to save power. To turn it on, simply press any button.
- Settings (Gear icon, Left)
- Start (Play icon, Center)
- Cancel (X icon, Right)
Setup & Operations
Follow these steps to register your probe and start measuring temperatures.
First Time Registration
- When the device is new, press the Settings (Gear) button (left button).
- The device will show the Serial Number and DUID number for 3 minutes.
- This 3-minute window can be canceled at any time by pressing the Cancel (X) button (right button).
- Use these numbers to register the Core under your own account on the LoggerFlex Web Application.
Adding Ingredients
Important: Without at least one ingredient added to your account, the probe will not work!
- In the LoggerFlex web app, select the + button (just like adding a new device).
- Instead of entering a Serial and DUID, look close to the bottom of that same pop-up window and click on "Add a virtual measurement point".
- Assign a name to the ingredient. You can also assign a picture to each ingredient to make it easier to identify on the device!
Connecting to WiFi
WiFi Setup Process
- Press the Settings (Gear) button again. The device will create a hotspot named CORE.
- Use your phone, tablet, or computer to scan for WiFi networks and connect to the CORE network.
- A page will automatically pop up. If it doesn't, open a browser and go to 8.8.8.8.
- Select your local WiFi network, enter the password, and connect.
Automatic Sync
Once connected, the CORE will automatically extract the list of ingredients that you previously added to the web application. You are now ready to start measuring temperatures!
Measuring Temperatures
Initiating a Session
Press the Start (Play) button (center button). The CORE will display the name of the first ingredient and ask you to put the probe in the ingredient and wait.
Automatic Equilibrium
It automatically detects when the sensor has reached equilibrium with the environment, registers that temperature, and moves on to the next ingredient.
Skipping Ingredients: At any time, you can cancel the current reading by pressing the Cancel (X) button (right button). The ingredient you skipped will simply be ignored for this session, and it will move to the next one.
Additional Functions
Data Syncing
- At the end of a session, the system automatically syncs all data with the cloud.
- If the cloud is not accessible, data remains safely in memory. The device will automatically try to upload data once a day via WiFi.
- Each time it connects, it will sync any new or deleted ingredients with the server.
Settings & Live Mode
- Real Time Thermometer: Long press the Cancel (X) button to enter live temperature mode. It shows the real-time temperature without recording anything (60-second window, cancel with X button).
- Change °C / °F: Press the Settings (Gear) button (so Serial and DUID appear on screen), then press the Settings button again to switch between Celsius and Fahrenheit.